 |
 |
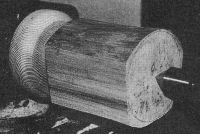
There must be many ways of turning a bud vase but I have got into the habit of turning mine on a screw chuck. The reason for this is that it enables me to to hollow out the inside of the neck if I wish. This has been done on the vase shown here - as can be seen in the photo below. Very often this results in a more attractive vase, even if it takes a little longer to make. |
 |
This vase has been turned on a screw chuck similar to that shown in the instructions for making a pencil pot. In this case the tailstock has been brought up in the first stages so that roughing down and preliminary shaping can be done fairly vigorously.
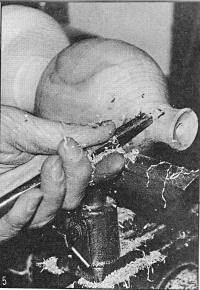
Most, if not all, of the of the final shaping can be done with a spindle gouge. In this case, as can be seen in the photo, I used a small bowl gouge on the neck of the vase. This vase is short and fat and tuning the body was rather like turning a ball but without be too close to afully spherical shape. Most vases are less rounded, as can be seen from the photo at the foot of the page. |
 |
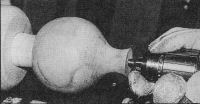
Drilling the hole for the flower can be done t almost any stage in the proceedings. In the photo it can be seen that I am holding the drill chuck in my hand - please note that I am wearing a glove - to hold the chuck in the hands without any protection would be risking a nasty injury. Nowadays I always drill the hole with the chuck held in the tailstock. I usually find that it is not necessary to wind the drill in and out with the tailstock screw - the tailstock can just be pushed into the vase. This speeds up the process.
Sometimes I like to darken the rim at the top of the vase. This is done by pressing a scrap piece of wood against the rim whilst the lathe is running. As can be seen in the photos this can be quite effective. |
 |
Because the vase has been held on a screw there is inevitably a hole in the bottom. As a thin screw has been used the hole is small. It can be covered with a disk of felt or baize. At one time I used a sticky backed green flocked material but nowadays I simply plug the hole with a piece of scrap wood or dowel. The dowel is cut off as near to the base as possible and then sanded flat on a disk sander. Apart from the application of some sanding sealer nothing else is done to it.
The hole in the bottom of the vase ccan, of course, be avoided by leaving some waste material to take the screw. |
 |